 Skip to main content
How to attach metal roofing: Ultimate 5-Step Guide
Why Learning How to Attach Metal Roofing is Your Best Investment
Installing a metal roof is more than just a home improvement project; it’s a long-term investment in your property’s value, safety, and efficiency. While the initial process might seem complex, understanding the fundamentals of how to attach metal roofing empowers you to make informed decisions, whether you tackle the job yourself or hire a professional. The result is a durable, beautiful roof that can last for 50 years or more, offering superior protection against wind, hail, and fire. This guide is designed to explain the process, providing you with the knowledge to ensure your investment pays off for decades to come.
For a quick primer on the basics, see the Metal roof overview—then dive into the step-by-step guide below to do the job right.
Before You Begin: Planning Your Metal Roof Installation
The Great Debate: DIY vs. Hiring a Professional
Deciding whether to install the roof yourself is the first major choice. It hinges on a realistic assessment of your skills, time, and the project’s complexity.
Ask yourself:
- Complexity – Is your roof a simple gable or a complex web of hips, valleys, dormers, and skylights? A basic, low-pitch gable roof is often DIY-friendly. Complex geometries require intricate cuts and flashing techniques that are best left to experienced professionals.
- Roof size – A small garage or shed under 2,000 sq ft can be a manageable weekend project for a handy individual. Larger residential roofs demand significant labor and a coordinated team to ensure the roof is weathered-in quickly.
- Tools & safety – Do you own or have access to specialized tools like metal-cutting blades, hand seamers, and nibblers? More importantly, are you equipped with and trained to use fall protection gear? A solid comfort level with working at heights is non-negotiable.
- Cost vs. warranty – The primary motivation for DIY is saving on labor costs. However, this can be a false economy. One mis-driven screw or an improperly flashed valley can cause leaks and, critically, may void the manufacturer’s warranty, leaving you responsible for future repairs.
- When to call a pro – If your roof pitch is steeper than a 6/12 (meaning it rises 6 inches for every 12 inches of horizontal run), if your local building codes have stringent wind-uplift requirements, or if the thought of spending days on a ladder makes you uneasy, hiring a professional is the wisest choice.
Still unsure? Contact DML USA for Professional Installation Guidance.
Choosing Your Armor: Types of Metal Roofing
Your choice of material and panel style impacts cost, longevity, and aesthetics.
| Material | Cost | Lifespan | Rust Resistance | Best Use Cases |
|---|---|---|---|---|
| Steel | $ | 30–50 yrs | Good (coated) | Hail & heavy snow |
| Aluminum | $$ | 30–50 yrs | Excellent | Coastal / acid rain |
Steel, typically a Galvalume-coated steel (a patented blend of zinc and aluminum), is the most popular choice for residential roofing due to its strength, durability, and cost-effectiveness. It offers exceptional performance in regions with heavy snow and hail, like our home state of Illinois. Aluminum is lighter and naturally rust-proof, making it the premier choice for coastal areas with salt spray or regions with high industrial pollution and acid rain.
Panel styles:
- Corrugated – Featuring exposed fasteners, this classic wavy panel is the most straightforward for DIY installation. It’s a durable and economical choice.
- Standing seam – This system uses hidden fasteners for a sleek, modern look with superior weather-tightness. Its installation is more technical and is usually handled by professionals.
- Metal shingles – These mimic the look of traditional asphalt, slate, or wood shingles but provide the longevity and durability of metal. They are a great option for homeowners who want a classic look without compromising on performance.
More details: Why Choose Metal Roofing?
Weighing the Pros and Cons
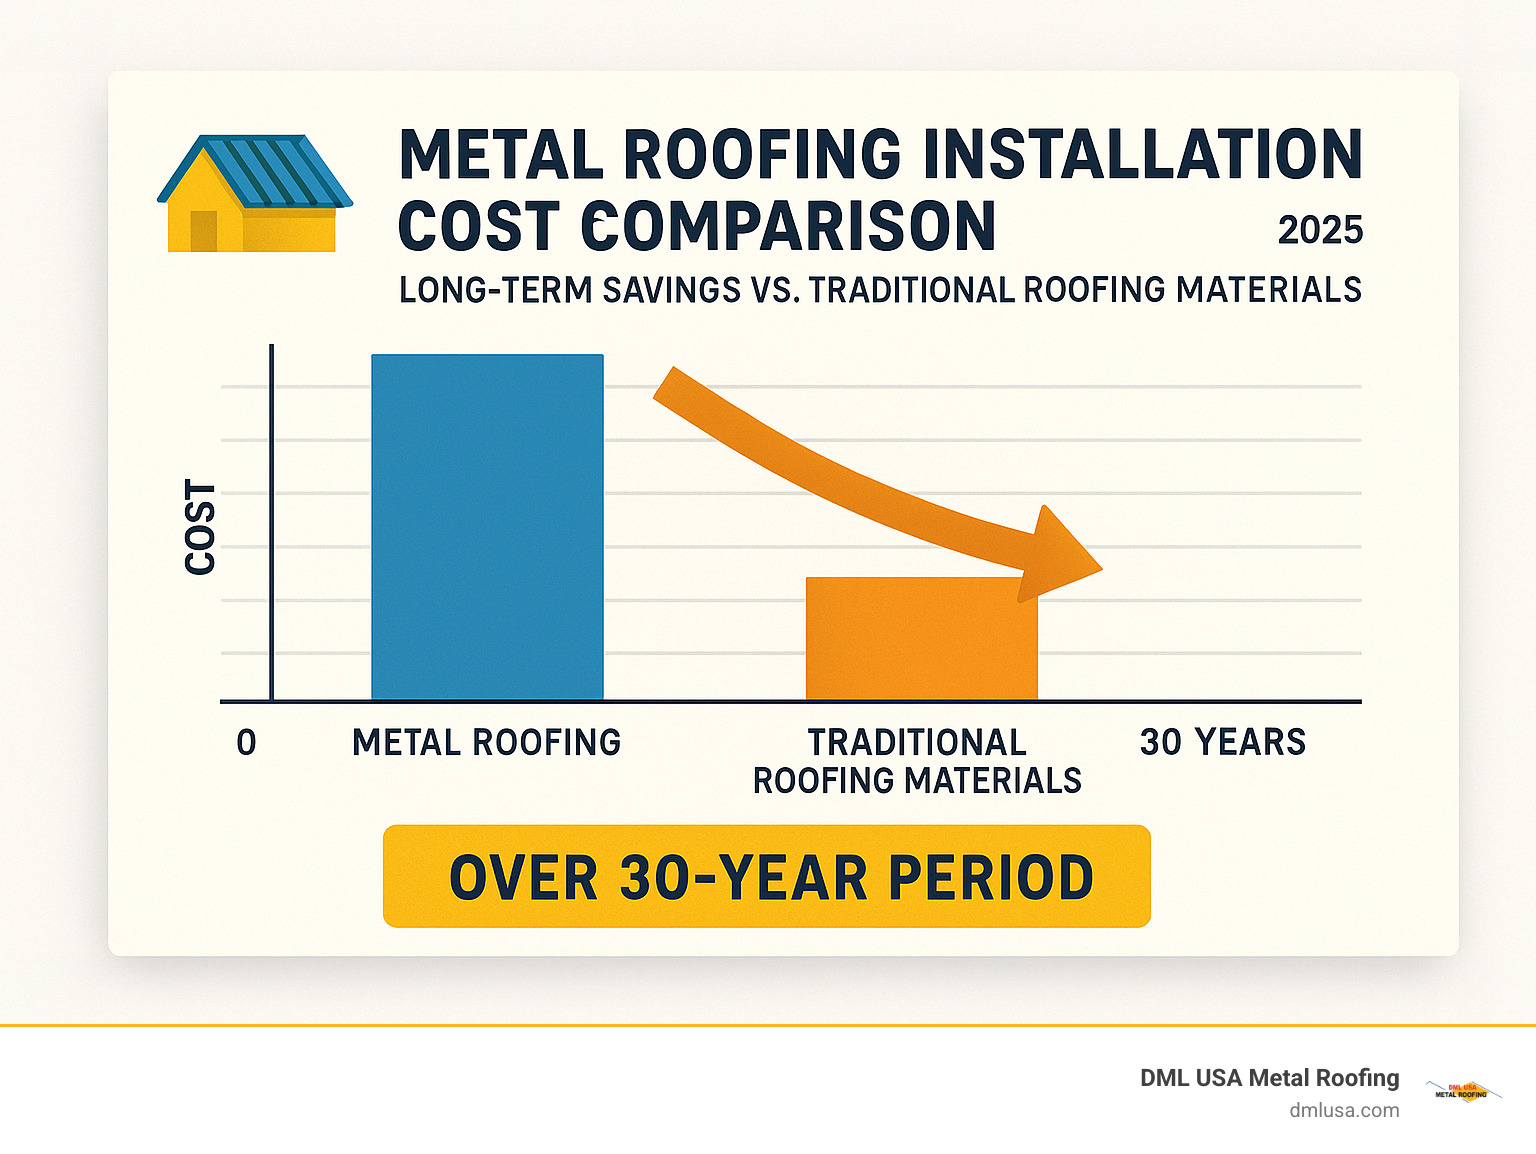
Pros: A properly installed metal roof offers a 50–70-year lifespan, often two to three times longer than asphalt shingles. It requires minimal maintenance and boasts a Class A fire rating, the highest available. It provides hurricane-grade wind resistance and, thanks to reflective coatings, can lead to 10–25% cooling savings by reflecting solar heat.
Cons: The primary drawback is the higher up-front cost compared to asphalt. Noise during rainstorms is a common concern, but it’s largely a myth with modern installations; proper sheathing and underlayment make metal roofs as quiet or even quieter than other types. Softer metals like aluminum and copper can be more susceptible to denting from severe hail.
Gearing Up: Essential Tools and Materials
Having the right equipment is half the battle. Assembling everything before you start prevents time-wasting trips to the hardware store and ensures a professional-quality job.
Your Project Toolkit
A cordless drill with an adjustable clutch is vital to prevent over-driving screws and breaking the washer’s seal. You’ll need left, right, and straight-cut aviation snips for making small, precise cuts around pipes and in valleys. A hand seamer helps create clean, sharp bends in flashing and trim. Also essential are a chalk line for snapping straight guidelines, a 25-ft tape measure, a circular saw fitted with a metal-cutting blade (not an abrasive one), a sturdy ladder or scaffolding, and a caulking gun for sealant.
Helpful extras that make the job easier include a hem bender for finishing edges, electric shears for faster long cuts, and a good set of pliers and a level.
Materials Checklist
Calculate your roof area and order metal panels with at least 10% overage for cuts and mistakes. Get color-matched, self-tapping screws with integrated EPDM washers; these rubber washers are critical for creating a long-lasting waterproof seal. You’ll need high-quality synthetic underlayment, which is far superior to old-fashioned felt paper for metal roofs. Also on the list are drip edge/eave trim, gable trim, a ridge cap, butyl tape for sealing panel overlaps (sidelaps), 100% silicone sealant for flashing, inside/outside closure strips to seal gaps at the ridge and eave from pests and wind-driven rain, flashing for pipes and valleys, and snow guards if you live in a heavy snow area.
For detailed specifications, see our Metal Roofing Resources.
Safety First
Your personal safety is the top priority. Never compromise on these rules:
- Always wear safety glasses to protect from sharp metal shards and cut-resistant gloves to handle panels.
- Wear soft-soled shoes to maximize traction on the roof surface.
- On any roof with a pitch over 6/12, a personal fall arrest system, including a harness and lifeline, is mandatory.
- Follow the 4:1 ladder rule: for every 4 feet of height, the base of the ladder should be 1 foot away from the wall. The ladder must extend at least 3 feet above the eave for safe access.
- Check for overhead power lines before raising ladders or panels.
- Never work alone, and postpone work in wet, icy, or excessively windy conditions.
The Ultimate Guide on How to Attach Metal Roofing: A Step-by-Step Process
Step 1: Prepare the Deck
A successful installation starts with a solid foundation. Begin by tearing off the old roofing material down to the roof deck (the wood sheathing). Inspect the entire deck for any signs of rot, water damage, or soft spots. Replace any compromised sheathing to ensure your fasteners have solid wood to bite into. Hammer down or pull any protruding nails from the old roof, then sweep the entire surface clean of all debris.
Step 2: Underlayment & Drip Edge
Next, install a high-quality synthetic underlayment. Unlike traditional felt, synthetic underlayment won’t tear, can withstand high temperatures under the metal, and provides a superior secondary water barrier. Start at the eave (the bottom edge of the roof) and roll it out horizontally, working your way up to the ridge. Overlap each course by 6–8 inches and fasten it according to the manufacturer’s instructions. The installation of drip edge trim is critical for water management. Install the drip edge along the eaves first, then lay the underlayment over it. Along the gables (the sloped sides), install the drip edge over the underlayment. This sequence ensures any water that gets under the trim is directed away from the fascia and roof deck. Secure the trim with 1-inch roofing nails every 16 inches, overlapping joints by at least 1/2 inch.
Step 3: Square & Set the First Panel
The first panel dictates the alignment for the entire roof, so it must be perfectly square. Use the 3-4-5 method to establish a true 90-degree reference line from the eave. Measure 3 feet along the eave from a corner, and 4 feet up the gable edge. The diagonal distance between these two points must be exactly 5 feet. Snap a chalk line along this diagonal to guide your first panel. Position the panel with a 1-inch overhang at the eave to allow water to drip clear of the fascia. Orient the panels so the overlaps face away from the prevailing wind direction. Before placing the next panel, run a line of butyl tape along the top of the rib that will be overlapped to create a waterproof sidelap seal.
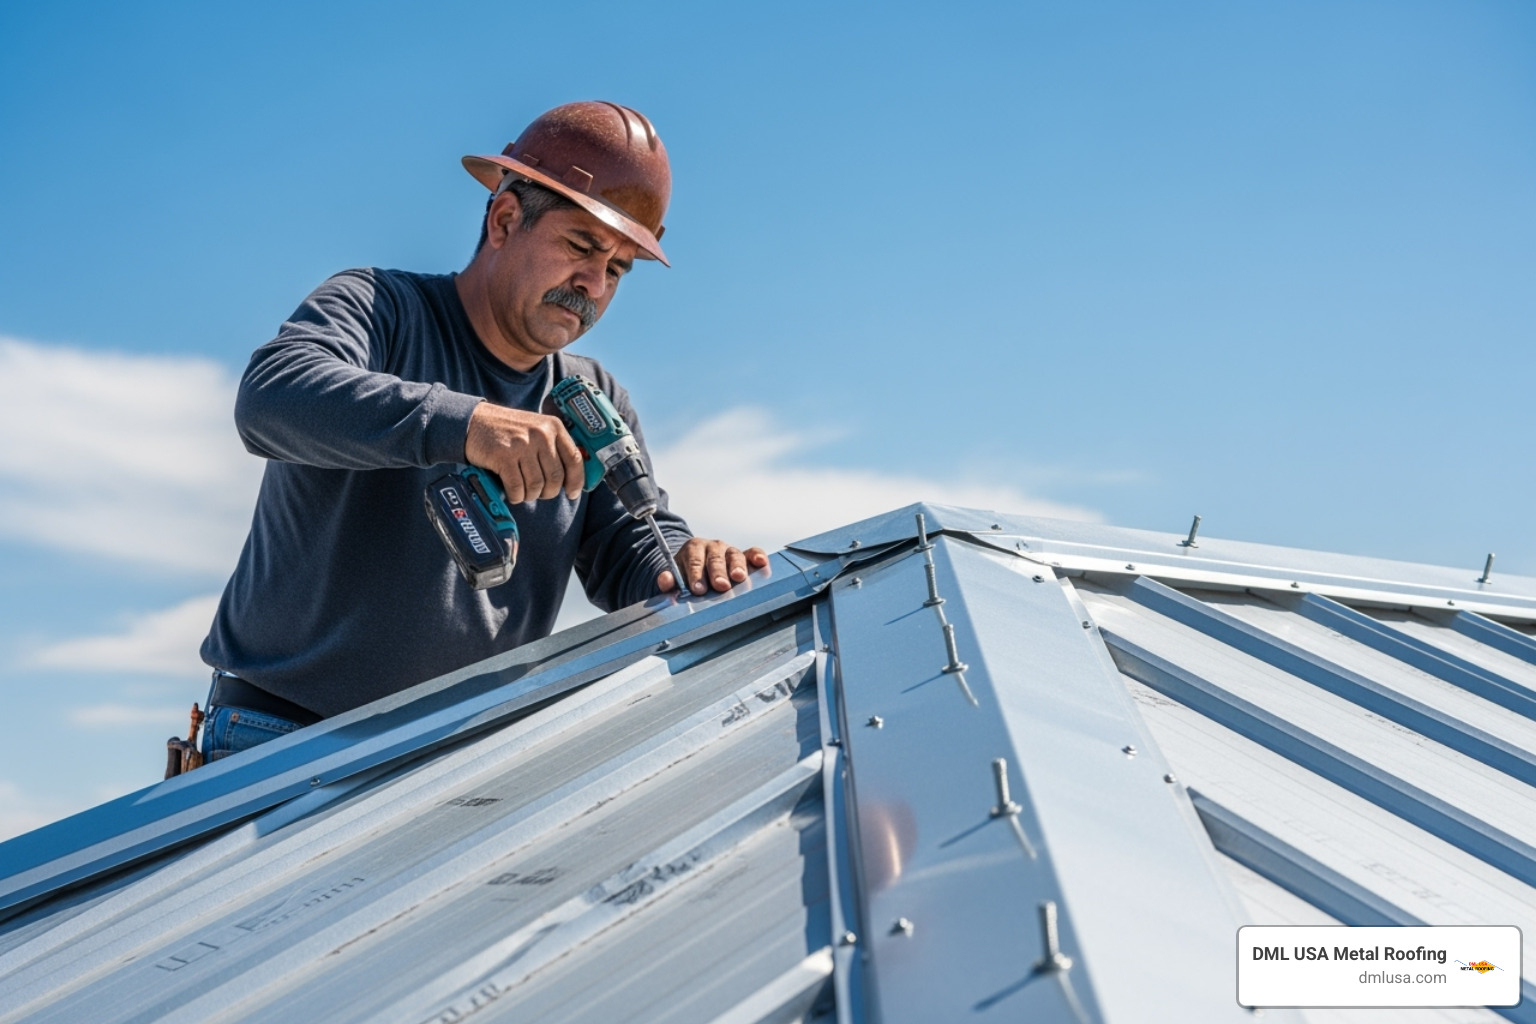
Step 4: Fastening Technique

Proper fastening is the most critical skill in metal roofing. Drive screws into the flat part of the panel, right next to a major rib, where the panel is supported by the wood deck below. Always drive screws perfectly straight (perpendicular to the panel), not at an angle. Use a drill with a clutch set to the correct torque to drive the screw until it’s snug. The goal is to slightly compress the EPDM washer to create a seal without causing it to bulge out from under the screw head. This takes practice. Keep your screw lines straight and spaced no more than 24 inches apart. As you work, immediately sweep away any metal shavings (swarf) from drilling, as they will rust and stain your new roof.
See the video: Proper Screw Placement for Metal Roofing Panels.
Step 5: Trim & Ridge Cap
Finishing the job correctly involves installing trim and flashing. Use gable trim to cover the cut edges of the panels along the sloped sides of the roof. Install flashing around all penetrations like vent pipes, chimneys, and skylights, sealing them with butyl tape and 100% silicone sealant. Before installing the ridge cap, place foam closure strips along the peak. These strips match the panel’s profile and seal the gap against wind, rain, and pests. Finally, fasten the ridge cap over the closure strips, using longer 2-inch screws that penetrate into each rib and the wood framing below. Overlap sections of the ridge cap by at least 6 inches.
Avoiding Pitfalls: Common Installation Mistakes
Even small errors can lead to big problems down the road. Be mindful of these common mistakes to ensure a leak-free, long-lasting roof.
Fastener Errors
- Overtightening is the most frequent mistake. It crushes the EPDM washer, destroying its sealing capability and often dimpling the panel, which can lead to pooling water.
- Undertightening is just as bad. If the washer isn’t compressed, it won’t create a seal, allowing water to seep under the screw head with the first rain.
- Angled screws create an oval-shaped hole that the round washer cannot properly seal, creating an immediate leak point.
- Leaving shavings (swarf) on the panel surface is a costly error. These tiny metal fragments will quickly rust, leaving unsightly orange stains on your brand-new roof’s finish.
Alignment Issues
- Wrong overlap direction can be a critical flaw. Sidelaps should be installed so that prevailing winds blow over them, not into them, to prevent wind-driven rain from being forced into the seam.
- Skipping the square reference line for the first panel is a recipe for disaster. A small error at the start will become a large, unsightly, and crooked gap by the time you reach the other end of the roof.
- Sloppy cuts around flashing create gaps that are difficult to seal. Take your time and make precise cuts for a tight, professional fit around all penetrations.
Ignoring Specs & Codes
- Always follow the panel manufacturer’s specified screw pattern. It’s engineered to meet wind-uplift requirements. Deviating from it can compromise the roof’s integrity and void the warranty.
- Confirm local building codes, especially for wind-uplift and snow-load requirements. Your installation must comply with these local mandates.
- Use compatible metals to avoid galvanic corrosion. This is a chemical reaction that occurs when two different types of metal are in contact in the presence of moisture, causing one to rapidly corrode. For example, never use copper fasteners or flashing with a steel (Galvalume) roof.
Frequently Asked Questions about Metal Roof Installation
Can I install a metal roof over my existing shingles?
While some local codes may permit this, DML USA strongly recommends a full tear-off. This allows for a thorough inspection of the roof deck to identify and replace any rotten or damaged sheathing. A tear-off also prevents trapping moisture between roof layers, which can lead to mold and decay. If an overlay is allowed and you choose to proceed, you must install a grid of 1×4 or 2×4 purlins (battens) at 24-inch centers over the shingles. This creates a flat, stable surface for the new metal panels and provides a beneficial air gap that improves energy efficiency.
How long does it take to install a metal roof?
The timeline depends heavily on the roof’s size and complexity, whether a tear-off is needed, and your skill level. A small, simple garage roof might be a two-day weekend project for a DIYer. A complex 3,000 sq ft home with multiple valleys and dormers could take a professional crew 4–7 days, depending on weather conditions.
What is the best way to cut metal roofing panels?
For long, straight cuts, a circular saw with a metal-cutting blade (specifically designed with carbide tips for this purpose) is most efficient. Always cut panels from the back side to avoid scratching the painted finish. For smaller, more intricate cuts around pipes or for trim, use aviation snips (for thin-gauge metal) or an electric nibbler for clean, distortion-free results. Never use an abrasive blade or grinder, as the heat generated will destroy the panel’s protective galvanized and painted coatings, leading to premature rust along the cut edge.
Are metal roofs noisy in the rain?
This is one of the most persistent myths about metal roofing. A metal roof installed over a solid wood deck with a quality underlayment is often quieter than an asphalt shingle roof. The sound of rain is diffused by the layers of sheathing and insulation in your attic. The loud, drum-like noise people imagine comes from old-timey installations on open-frame barns or porches without any solid decking underneath.
Conclusion
Learning how to attach metal roofing properly transforms from a daunting task into a rewarding accomplishment that adds tremendous value and security to your home. When you step back and look at your completed roof, knowing it will protect your family for the next 50-70 years, the satisfaction is incredible.
The journey we’ve covered together – from choosing between DIY and professional installation to mastering the perfect screw tension – might seem overwhelming at first. But here’s the truth: thousands of homeowners successfully install metal roofing every year by following these same principles.
The foundation of success lies in three critical areas. First, proper preparation means taking the time to inspect and repair the deck, square your first panel perfectly, and install quality underlayment. Second, precise fastening techniques – especially mastering that perfect screw tension where the washer compresses but doesn’t bulge – separate amateur work from professional results. Third, an unwavering commitment to safety ensures you complete your project without injury.
Metal roofing is fundamentally different from other roofing materials. It’s not just about keeping water out – it’s about creating an integrated system that moves with temperature changes, resists powerful wind uplift, and maintains its seal for decades. The roof is only as good as its installation, which is why every step in this guide matters.
At DML USA Metal Roofing, we’ve seen the difference that quality materials make in long-term performance. Our panels are designed specifically for easier installation while delivering the fire resistance, wind resistance, and energy efficiency that make metal roofing such a smart investment. We manufacture our products right here in Illinois with a deep understanding of the challenges Midwest weather presents, ensuring our customers get materials that work as hard as they do.
Whether you decide to tackle this project yourself or hire a professional contractor, starting with high-quality materials from a trusted manufacturer sets the foundation for success. A metal roof installed with premium materials and proper techniques isn’t just a roof – it’s potentially the last roof you’ll ever need to install.
For a durable, beautiful roof that stands the test of time, explore our metal roofing products and find why more homeowners are choosing metal roofing for their most important investment – their home.
Take your time with each step, don’t rush the details, and remember that consulting with professionals when you’re unsure is always the smart choice. Your future self will thank you for the investment in quality materials and careful craftsmanship. After all, there’s nothing quite like the peace of mind that comes from knowing your home is protected by a roof that’s built to last.
